...
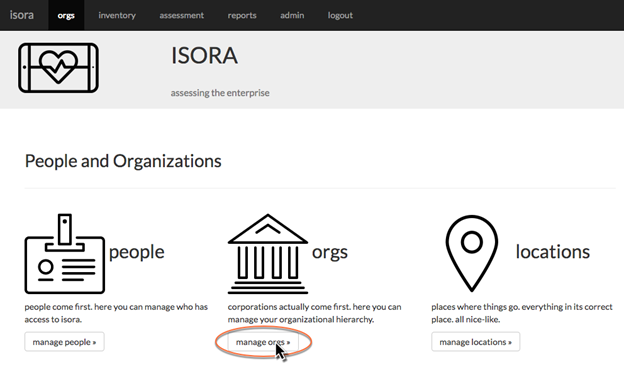
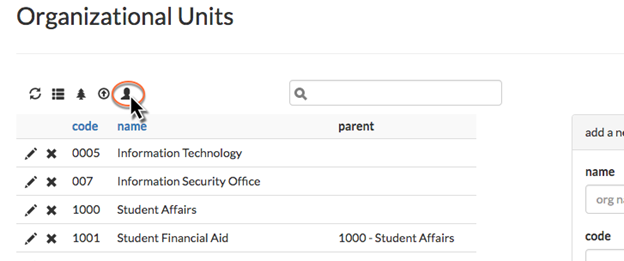
- Navigate to the orgs module and click “manage orgs.”
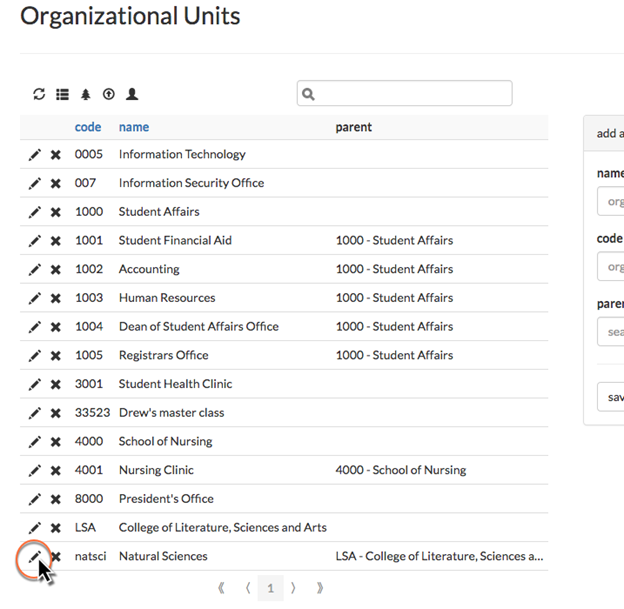
- To add an individual to an OU, click the edit button (which looks like a pencil) next to the OU in the table.
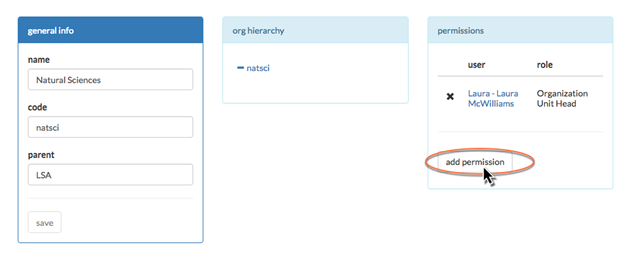
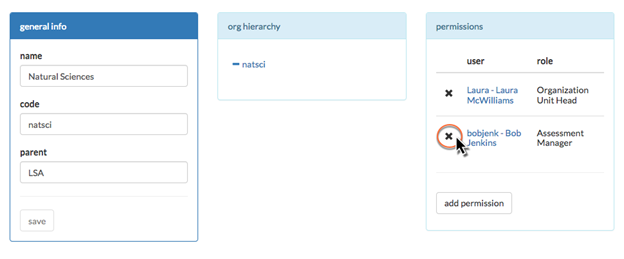
- From here, you can edit the name, code and parent of an OU. You can also view where it fits into the organizational hierarchy. To add a person to the OU, click the “add permission” button.
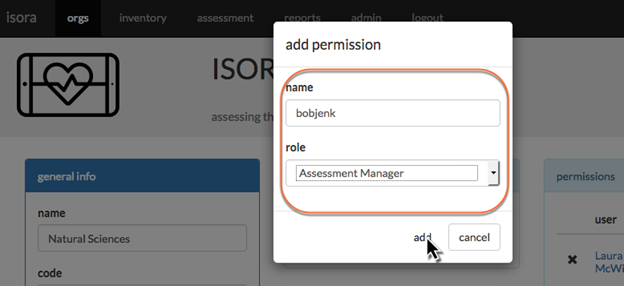
- Fill in the name of the person and choose the desired role from the drop-down list, then click “add.”
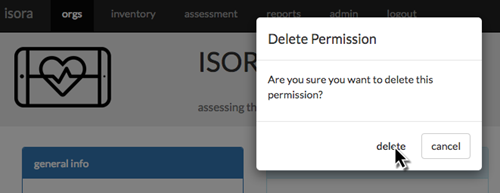
- To remove a permission from the OU, on the edit page for that OU, just click the X button next to the permission you want to remove, then click “delete” in the confirmation dialog that pops up.
- You can upload multiple permissions using a CSV file. On the manage orgs page, next to the upload CSV button is a button that lets you upload permissions.
- Use a CSV file where each line consists of a role (Organization Unit Head, Assessment Manager, IT Staff, or User), the OU code, and the username of the person to be added to the OU.
Next: 3.4 Removing peoplePeople
| Page Properties | ||
|---|---|---|
| ||
|
...