Now that you have data about people and inventory in ISORA, you can get started with assessments. You can follow these steps to perform a very basic assessment, then read the rest of the document later to get more details about how to use each app of ISORA.
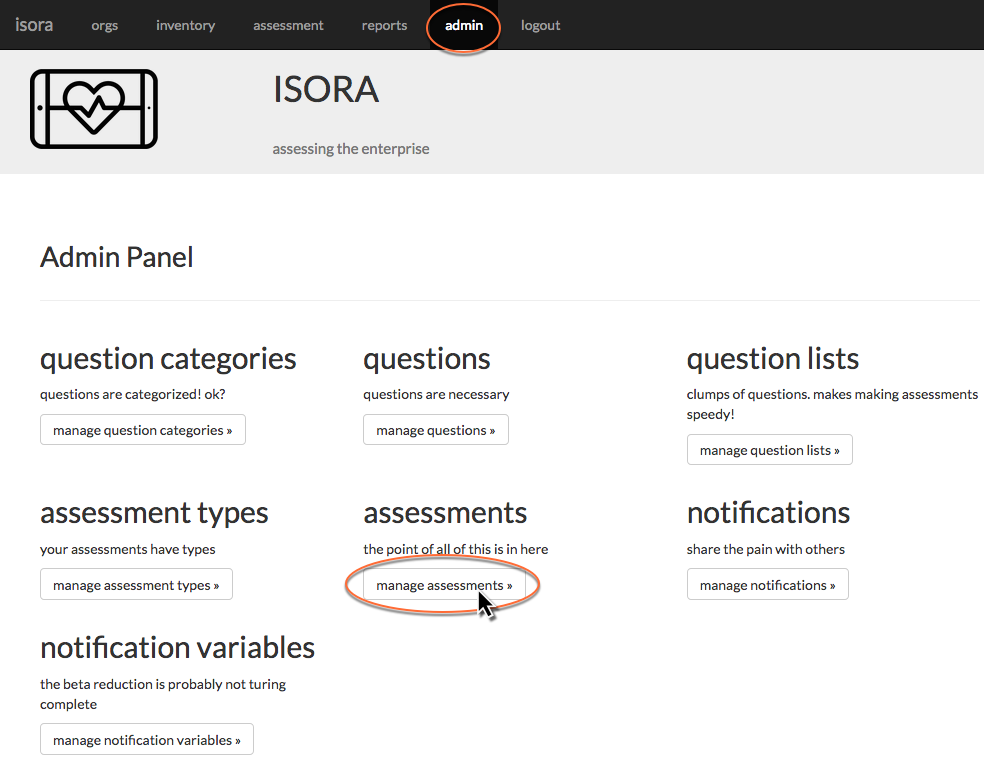
Start by accessing the admin app of ISORA. From there, click the “manage assessments” button.
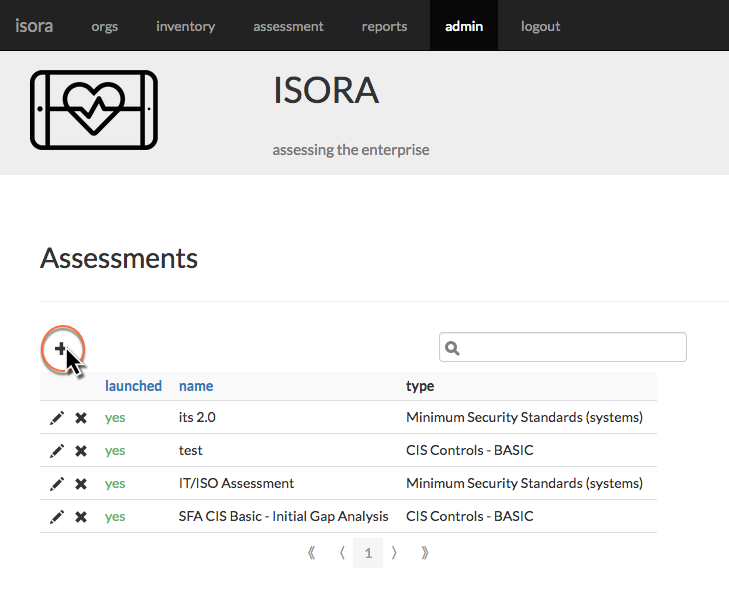
Click the plus sign to add a new assessment.
Assign the assessment a name and due date, then choose an assessment type from the drop-down list. ISORA comes pre-populated with a number of default assessment types.

Click the “org units” tab and use the checkboxes to select one or more organizational units which will be part of the assessment. As you click each one, a box which pops up on the right-hand side allows you to customize some aspects of the assessment for that organizational unit. By default, the survey which is going to be created will require final approval by the OU head and all hosts that belong to that OU will be included in the survey.

Click the “unit-level questions” tab to select unit-level questions for this assessment. The type of survey you choose on the “general” tab will determine what questions are shown here. Use the check boxes to choose one or more questions to include.

Finally, click the “create” button at the lower right-hand corner of the form. You can revisit the earlier tabs if you want to review your work before you create it.

Choose “yes” to launch the assessment and click the “save” button.

Once you have launched the assessment, it will show up in the assessment app.

Now that the assessment has been launched, each OU head or assessment manager can fill out or delegate survey questions to complete the assessment.