You can also add edit permissions by editing an OU.
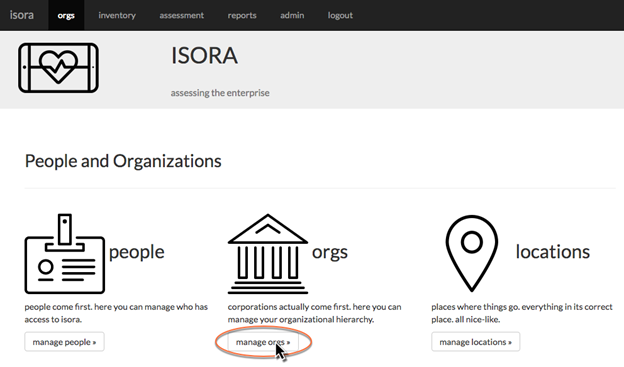
Navigate to the orgs module and click “manage orgs.”
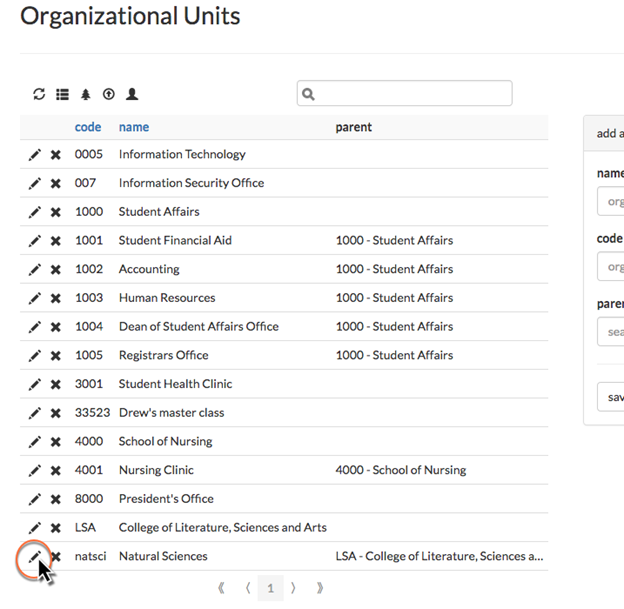
To add an individual to an OU, click the edit button (which looks like a pencil) next to the OU in the table.
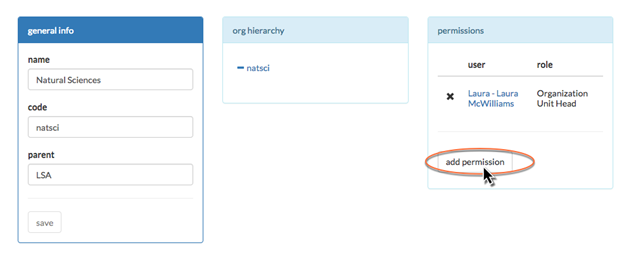
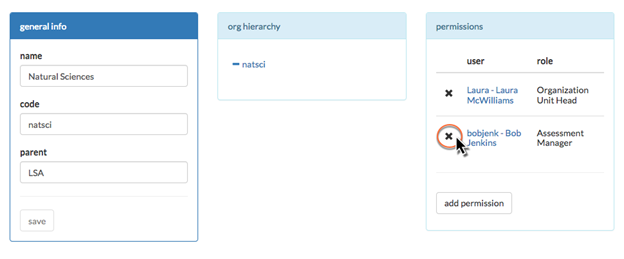
From here, you can edit the name, code and parent of an OU. You can also view where it fits into the organizational hierarchy. To add a person to the OU, click the “add permission” button.
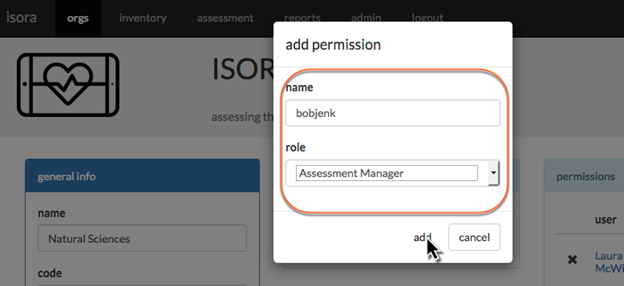
Fill in the name of the person and choose the desired role from the drop-down list, then click “add.”
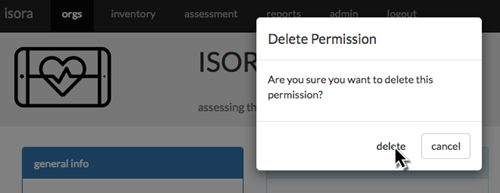
To remove a permission from the OU, on the edit page for that OU, just click the X button next to the permission you want to remove, then click “delete” in the confirmation dialog that pops up.
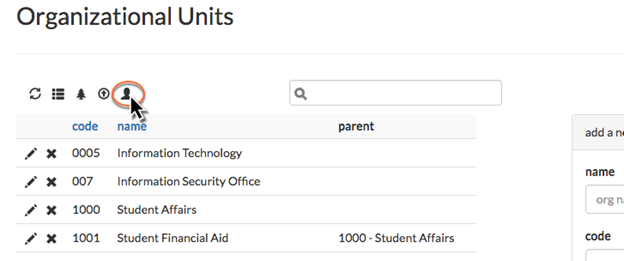
You can upload multiple permissions using a CSV file. On the manage orgs page, next to the upload CSV button is a button that lets you upload permissions.
Use a CSV file where each line consists of a role (Organization Unit Head, Assessment Manager, IT Staff, or User), the OU code, and the username of the person to be added to the OU.
Add Comment