...
- Navigate to the orgs module and click the “manage people” button.
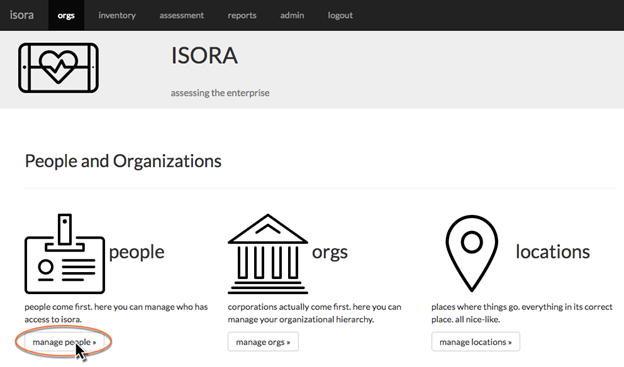
- On the right-hand side, fill in the “add a new user” form with the desired information for your new user and click the “save” button.


The username field should be required. Leave the password blank if you want to use LDAP for authentication. If you specify a password, then the local password will be used for authentication purposes, but if possible, LDAP will still be used for authorization. In a non-LDAP environment, you will need to specify a password, or the user won't be able to log in.
If any user needs to have administrative privileges, you can click the “superuser” checkbox when you add the user. You can also add this capability later. Do not give superuser authority to anyone other than ISORA administrators, since superusers have unrestricted privileges.
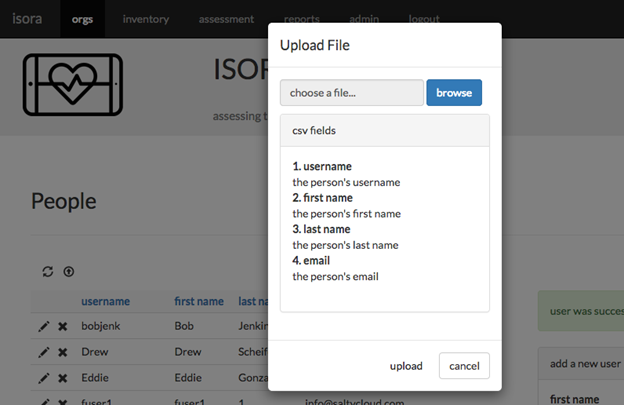
The "service account" checkbox can be used if a non-person entity needs to access ISORA. No authentication is used with service accounts; they only access ISORA through the API. - You can also click the upload button to upload details about multiple users at once using a CSV file. Each line of the file should consist of a username, first name, last name, and email address.
...
In a large institution, you may not be aware of all the people in the organization who will at some point need to use ISORA. As authorized users fill out surveys to complete assessments, they can delegate questions to other people. When doing so, they can specify people who aren’t yet defined in ISORA, and this is another way that people can get added into ISORA.
Next: 3.3 Creating organizational structure in ISORA
| Page Properties | ||
|---|---|---|
| ||
|
...